Looking for an affordable yet stylish way to upgrade your home? A Diy wood slat wall might be exactly what you need. This simple, budget-friendly project can turn any plain wall into a stunning feature that adds warmth, texture, and modern charm. Whether you’re updating your living room, bedroom, or office, a DIY Wood Slat Wall is a perfect way to transform your space without breaking the bank. At SlatSolution, we’re here to guide you step-by-step through the process, offering helpful tips and tricks to make your project easy and enjoyable.
Why Choose a DIY Wood Slat Wall
A DIY Wood Slat Wall is not only beautiful but also incredibly practical. It’s one of the most cost-effective ways to elevate your home décor. The clean, linear design fits effortlessly with a wide range of styles—from Scandinavian minimalism to rustic farmhouse interiors. Plus, it’s completely customizable. You can choose the type of wood, stain color, and layout that best suit your home. With a DIY Wood Slat Wall, you get professional-looking results without the expensive contractor fees.
Budget Planning for Your DIY Wood Slat Wall
Before you start your project, it’s important to plan your budget. The total cost of a DIY Wood Slat Wall depends on the size of your wall, the type of wood you use, and whether you already have some tools on hand.
Average Cost Breakdown
- Wood slats: $1–$3 per linear foot (pine and MDF are the most affordable options)
- Adhesive or nails: $10–$20
- Paint or stain: $15–$30
- Tools (if needed): $30–$100 (for a saw, level, and nail gun)
In most cases, you can complete a small DIY Wood Slat Wall for under $150. Compare that to professional wall treatments or custom paneling, and you’ll see why this project is such a smart investment.
Step-by-Step DIY Wood Slat Wall Tutorial
Step 1: Plan Your Design
Start by choosing where you want to install your DIY Wood Slat Wall. Measure the height and width of the area and decide whether you want vertical or horizontal slats. Vertical designs create a taller, more modern look, while horizontal ones make a space feel wider. Sketch your layout to visualize the final result before cutting any wood.
Step 2: Prepare the Surface
Clean and smooth your wall to ensure proper adhesion. Use a stud finder to mark where the studs are located, as this will guide your installation. If you plan to paint the background behind the slats, do it before installation—many homeowners choose a dark color to make their DIY Wood Slat Wall stand out beautifully.
Step 3: Cut and Sand Your Slats
Cut the wood slats to your desired length using a miter or circular saw. Sand the edges and surfaces until smooth. This step gives your DIY Wood Slat Wall a polished and professional finish. You can use affordable pine or MDF wood to keep costs low while still achieving a stunning result.
Step 4: Stain or Paint the Slats
Apply a coat of stain, paint, or clear finish to your slats. Stain enhances the natural grain of the wood, while paint can add a modern or dramatic touch. Let them dry completely before installing. Choosing the right finish can dramatically change the mood of your DIY Wood Slat Wall—light stains for airy spaces or deep tones for cozy, intimate rooms.
Step 5: Install the Slats
Begin attaching the slats at one end of the wall, ensuring the first piece is perfectly level. Use construction adhesive for easy application, and add nails or screws for extra stability. Maintain even spacing between each slat using a small spacer or a piece of scrap wood. Take your time—precision is key to achieving a clean, consistent look for your DIY Wood Slat Wall.
Step 6: Finish and Touch Up
Once all slats are in place, fill any nail holes with wood filler and touch up with stain or paint as needed. Wipe away any excess adhesive for a flawless finish. Step back and admire your work—your DIY Wood Slat Wall is complete!
Design Variations for Every Room
Living Room
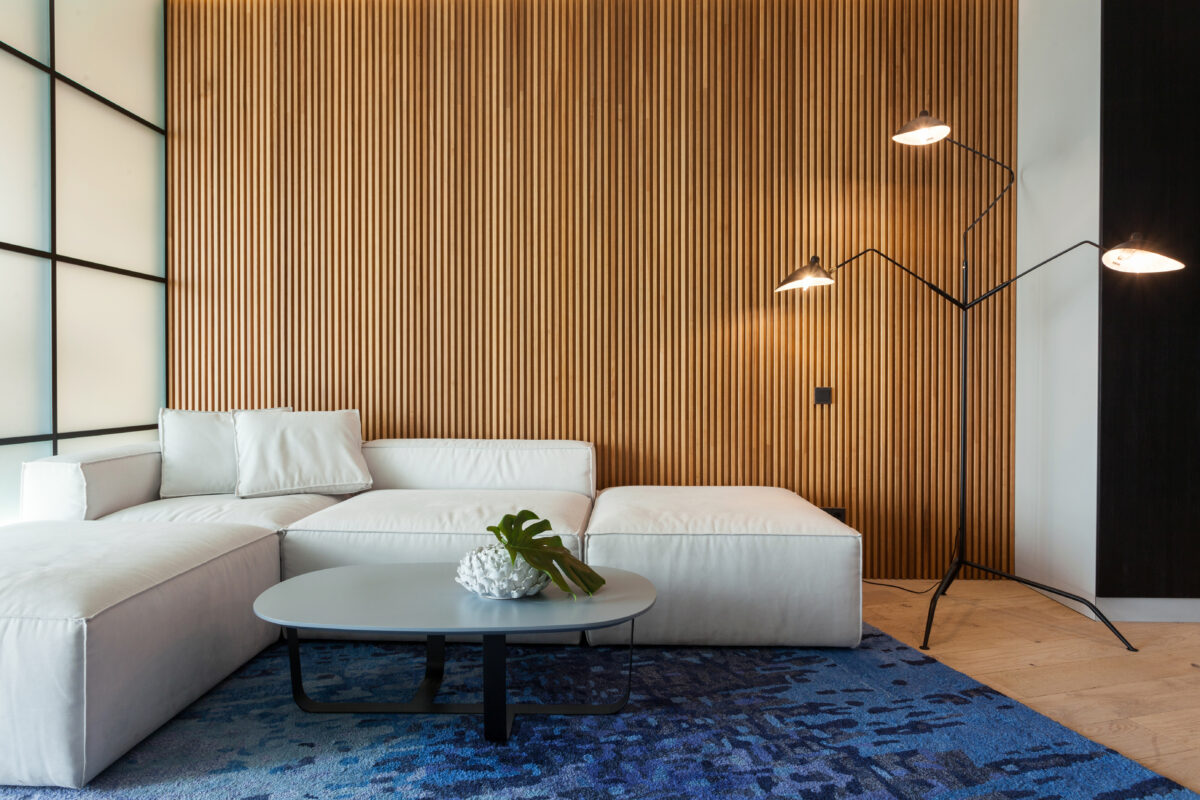
A DIY Wood Slat Wall behind your TV or sofa creates an instant focal point. Add built-in lighting or floating shelves for extra functionality.
Bedroom
Use a DIY Wood Slat Wall as a headboard alternative for a warm and luxurious look. Extend it to the ceiling for a hotel-inspired feel.
Office or Entryway
Incorporate a DIY Wood Slat Wall behind your desk or in your entryway for a modern, organized aesthetic. You can even hang hooks or artwork directly on the slats.
Cost-Saving Tips from SlatSolution
At SlatSolution, we believe style shouldn’t come with a high price tag. Here are a few ways to keep your DIY Wood Slat Wall budget-friendly:
- Buy wood in bulk or use reclaimed wood for an eco-friendly and affordable option.
- Rent tools instead of buying them if you’re only doing one project.
- Paint or stain the slats yourself instead of paying for pre-finished wood.
- Start small—try a single accent wall before tackling a full room.
By following these tips, you can achieve a luxurious look while spending a fraction of what a professional installation would cost.
Maintenance Tips for Long-Lasting Beauty
Keep your DIY Wood Slat Wall looking new by dusting it regularly with a soft cloth or microfiber duster. Avoid using harsh chemicals that could damage the finish. If scratches appear, lightly sand and reapply stain or paint. With minimal upkeep, your DIY Wood Slat Wall will stay elegant and eye-catching for years.
Conclusion
A DIY Wood Slat Wall is one of the easiest and most affordable ways to give your home a designer-inspired makeover. With basic tools, simple materials, and this step-by-step guide from SlatSolution, you can create a stunning feature wall that reflects your personal style. Whether you’re refreshing a single room or upgrading your entire home, the results are sure to impress. Start your DIY Wood Slat Wall project today and see how a small investment can make a big impact on your space.